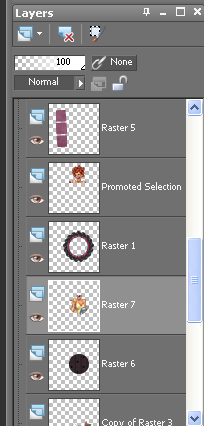
Supplies Needed
PSP – I used X2 but this will work in any version.
Tube of choice
I used the beautiful art work of Dominic Marco you may purchase his artwork HERE.
Scrap kit is a FTU Lot of Love from Teresa HERE
Mask WSL_84 HERE
Eye Candy 4000
Okay let’s begin
Layers open a new image 600 X 600 (we can resize later)
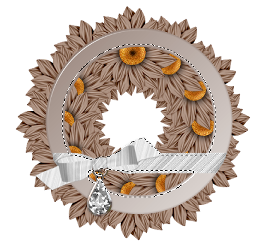
Copy / Paste Frame 1 then resize. Place in center of layer.
Using your Magic wand click inside frame Selections / modify / expand by 4.
Select Paper to use I used Paper 17 then copy / paste.
Selections / invert / delete, now move layer under frame.
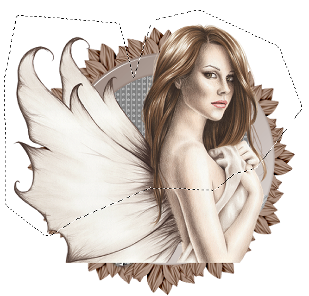
Copy / paste your tube place so it looks like she is sitting on frame, then erase the bottom part of tube, see my tag.
Select Rose Doodle copy / paste then resize by 50 percent. Move these above the background layer.
Image / free rotate / right 90 degrees duplicate / mirror / flip adjust them to your liking.
Give these a light Drop Shadow.
Select Chocolates, Teddy Copy / paste / resize then place at bottom of frame see my tag for placement,
Give these a light drop shadow.
Select Pin and staple copy / paste / resize. Place Pin on side of frame then place the staple duplicate so you now have 3 staples.
Select Bow 1 copy / paste / resize and place below heart pin, then give a light Drop shadow.
Select Wordart 1 copy / paste / resize by 50 percent, place at bottom left hand side.
Using Eye Candy 4000 Gradient Glow factory setting – White then give it a light drop shadow.
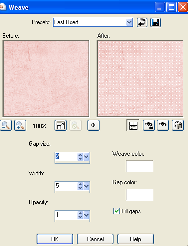
Select Paper 1 copy / paste above background layer. You can resize paper if you wish.
Layers /Load mask / Select WSL_84 then click OK.
Layers Merge /Merge Group.
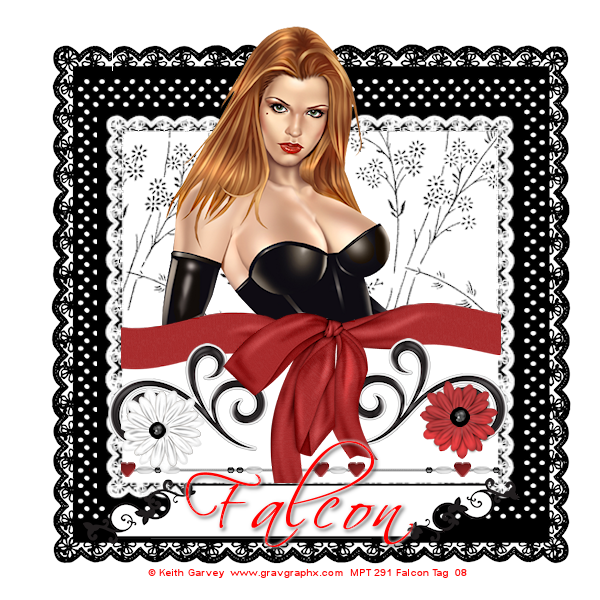
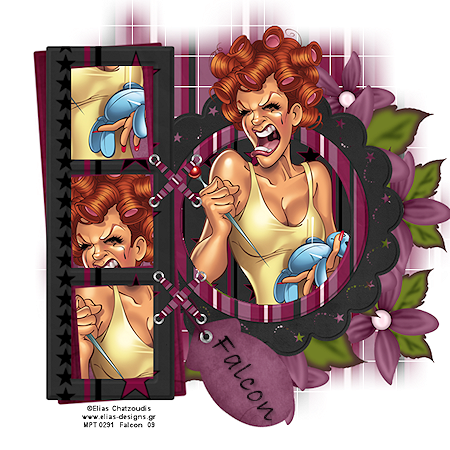
Add your © and your name or watermark. Resize and crop.
Save and your done!
Copy write Falcon aka Maree 2010.
I would love to see your result. Thank you for trying my tutorial