
Supplies Needed
PSP X2 ( any version will work)
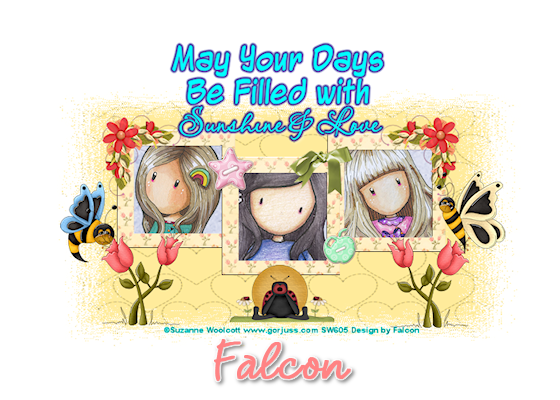
Tube of chioce or the one I am using the gorjuss artwork of Suzanne Woolcott
you will find her artwork Here
Scrap Butter Bee Summer by Jay-Heartbeatz Creations
you can purchase it Here
Font of choice or the one I used:
Drop Shadow of choice.
Drop Shadow of choice.
Mask _196 by Vix Here
Remember to Save Often!!!
Remember to Save Often!!!
Let begin
Open new image 700 x 400.
Add a new raster layer using your Selection tool draw aout a square about medium size.
Open hc_bbs-paper 20 copy paste into selection. deselect. On the same layer draw out
a smaller square now hit delete.
a smaller square now hit delete.
Selections float Effects 3D Effects Outer Bevel with these settings.

Deselect.

Deselect.
Duplicate twice. Move them around till you are happy with position
then close out background layer and merge visible..
Using Magic Wand click inside all frames repeat this holding down the shift key.
Selections modify Expand by 3 open .
Open hc_bbs paper12 copy paste selections Invert Delete, now also choose your tubes
and copy paste onto frame.Hit delete, deselect. Move all below frame.
X out your background layer and merge visible.
Open hc_bbs-element 35 copy paste resize place on corner of middle frame.
Open hc_bbs-element 1 copy paste resize duplicate, mirror place at bottom of frame,
Open hc_bbs-element 3 copy paste resize place on left side of frame above flowers.
Open hc_bbs-element 4 copy paste resize place on right side of frame.
Open hc_bbs-element 21 copy paste resize duplicate mirror and place at top of frame.
Open hc_bbs-element 42 copy paste resize and place below frame.
Open hc_bbs-element 58 copy paste resize place on top middle frame.
Open hc_bbs-element 59 copy paste resize place on lower middle frame.
Open hb_bbs-element 8 copy paste as new layer.Selections float, defloat,
add new layer and with color of choice using your fill bucket then deselect.
Now delete original word layer and give it a drop shadow of choice.
Open hc_bbs-paper6 copy paste apply mask merge merge layers.
Add your Artist © and name then crop and save.
This is only a guide and feel free to use any other element you wish.
Most of all have fun creating.
This tutorial was written by Maree (aka Falcon) on 27 April 2010.
Any similarities to this tutorial are purely coincidental
© Maree

